New York – Spring 2016


A pledge for making
Hi!
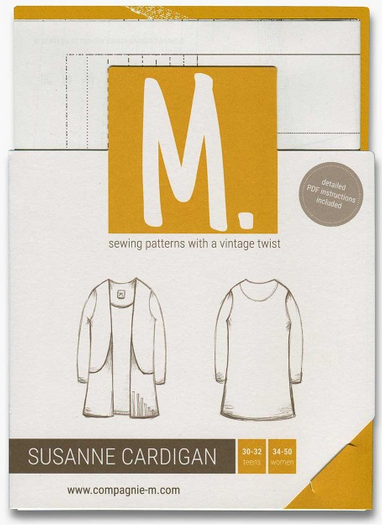
Today, I’d like to give you my review of this Compagnie M. pattern: the Susanne cardigan.
I can’t remember exactly how I have discovered Compagnie M., probably through Facebook or Feedly (blog RSS feed reader). When I saw the Susanne cardigan and all the different versions one could make with one single pattern, I was convinced, and I ordered the adult/teen pattern as well as the kid pattern. I have ordered the paper pattern.
A few hours later, I received the link to download the digital pattern with the sewing instructions. (that is great to already get the digital pattern, if you are really in a hurry to make your cardigan as soon as possible! I was not, so I waited a little longer…)
And I received the pattern paper a few days later through the post, in a neat little (slim) cardboard envelope and was very happy with the packaging straight away: just some cardboard and paper. No plastic wrap to throw away, but good quality eco-friendly materials. I also liked the colour scheme of the packaging. I love this mustard yellow colour!
So I quickly opened the cleverly designed pattern cardboard envelope to read through the instructions. But then I was disappointed: no paper instructions! That is my ONLY disappointment, but still I’m quite upset to have to use the digital instructions. Of course I could print them. And once you’ve sewn the pattern it’s quite easy to remember. But still: when I buy a paper pattern, I expect the instruction to come in the package. If in a few years time I want to sew this pattern again, I would appreciate to find the instructions neatly placed next to my paper pattern, in the pretty envelop. I understand that the digital instructions have a lot of pictures (great!), so a printed version of these would look very bulky. But still, just the text would help, with all the information regarding sizing, amount of fabric needed etc… (and maybe some simple schematics for the tricky steps).
However, I have lots of good things to say about this pattern:
The best proof that I love this pattern:
And I’m going to share them with you… as soon as I manage to take some good pictures of them! 🙂
#susannecardigan

This subject is quite a popular one in the crafter blogosphere. Us, crafters, especially knitters (because it usually takes sooo long to make a knitted garnment) are asked “why do you make it when you could buy it, you would waste less time”. Who hasn’t heard that before? Then the looks given by those who ask you that, who think that you are someone who has nothing better to do, and must have a very boring life indeed. Familiar anyone?
When I think “making for wearing” I see different subjects: “Why making when you could buy it?” and “How to wear what you are making?”. I will start this week with the latter.
“How to wear what you are making?” or “How to make so that you’ll wear it?”
We (knitters, crocheters, and sewers) have garnments in our wardrobe that we never wear. Haven’t we? I see different reasons why I don’t wear some garnments I’ve made:
Failure reason #1: “They don’t fit.”
There is only one word: swatch!
I didn’t use to swatch. Guess what? All the garnments that don’t fit me are from my pre-swatching period! Surprised?
Just give it a go: Take the yarn you want to use, knit an about 10cm square. Now compare your gauge against your pattern gauge. “only one stitch difference, it won’t matter”. Well think twice. For a gauge of about 20st/10cm on the pattern, which is actually 21st/10cm on your swatch, if you have casted on 200 stitches for a waist that should measure 100cm, you actually get a waist of 95cm. About a size smaller… THAT is the difference between something that will fit you and something that won’t. Actually, you are supposed to (and I recommend you to) wash and block your swatch and measure your gauge then. Joanne has convinced me about swatching during a lesson at The Sheep Shop, Cambridge. If you can’t attend her class, read her blog post. And swatch!
If you are a drewwmaker, the swatch is not relevant. But it is relevant to know how to take your body measurements. And to know how to choose the correct size on the pattern. (this also applied to knitting and crochet garnment) And know how to modify it. I’m still learning on that subject, but it looks like the only way to sew a garnment that will look perfect is to make a toile.
Failure reason #2: they don’t flatter me
When you go in a shop, you can try your garnment and decide to buy it or not when you look in the mirror. When you make your garnment, you can’t really try it before you make it, can you? 😉
What I try to do when I pick a pattern, is that I try to stick to pattern which shape is similar to a garnment I already have and love to wear. I play it safe, that’s right. But then if you want it to be original, you can still play with details, the fabric choice etc…
I think fashion designers have a better sense of which shape of garnment flatters which body shape. I simply don’t…
Failure reason #3: What was I thinking when I made that? It’s not my colour/style.
Oh that yarn is soooo gorgeous!
Go beyond that first thought, and actually try to think hard: are you really going to wear that colour? Do you have other clothes that will match with this?
Failure reason #4: This lace/yarn was beautiful on the photos, but I never dare to wear it with my lifestyle.
This applies to me a lot. I actually almost never wear a dress or a skirt. First because I dont’ find them convenient. To make it short: society expects women to be hairless. I am not. I don’t want my outfit to be a constraint on the amount of time I’ve got to spend in the bathroom and the amount of pain I’ve got to go through just to wear a bloody dress. Yes, these are the thoughts that go in my mind.
Also, I’m commuting by bike, so out are skirts and dresses. Because I like cycling fast, and Cambridge is a windy town. I don’t want to have to also worry about people seeing my knickers or anything else!
(I do sometimes wear dresses and skirts, just not often. And I already have plenty of them, more than I can wear actually! So why making even more?).
So, cycling, I said. When you cycle to work and to nursery every day, you want clothes that are durable. That won’t get ruined in the rain. That keep you warm. That don’t have frills and other fancy hanging bits that would only be caught in the bike chain or else.
This brings me to…
Failure reason #5: I don’t really want to have to wash and block this AGAIN!
Blocking a garnment is what will make your garnment look fabulous. And I tend to do it as often as I can. However, it takes some time and space that I don’t always have. Plus when the weather is really miserable, I don’t really risk having a wooly jumper on a foam mat for days to dry…
So for all these reasons, it appears that *for me*, the sensible choice for yarn and pattern is to stick with colours that are quite simple and discreet. Yarn that is not really fancy, usually 100% wool. Superwash is really appealing to me.
The patterns I choose are simple sweaters and cardigans that will fit easily under my bike jacket. Long sleeves. Low back. Quite close from my body (loose garnments make me look bigger than I am).
Since I’ve paid more attention to these criterias, I’ve been wearing the garnments I make more often. They have become items that I will easily choose in my wardrobe, with a equal chance to be picked in the morning to the shop bought ones. Or actually higher chance to be picked, because I’m proud to be a maker! But I will leave that subject for another blog post!

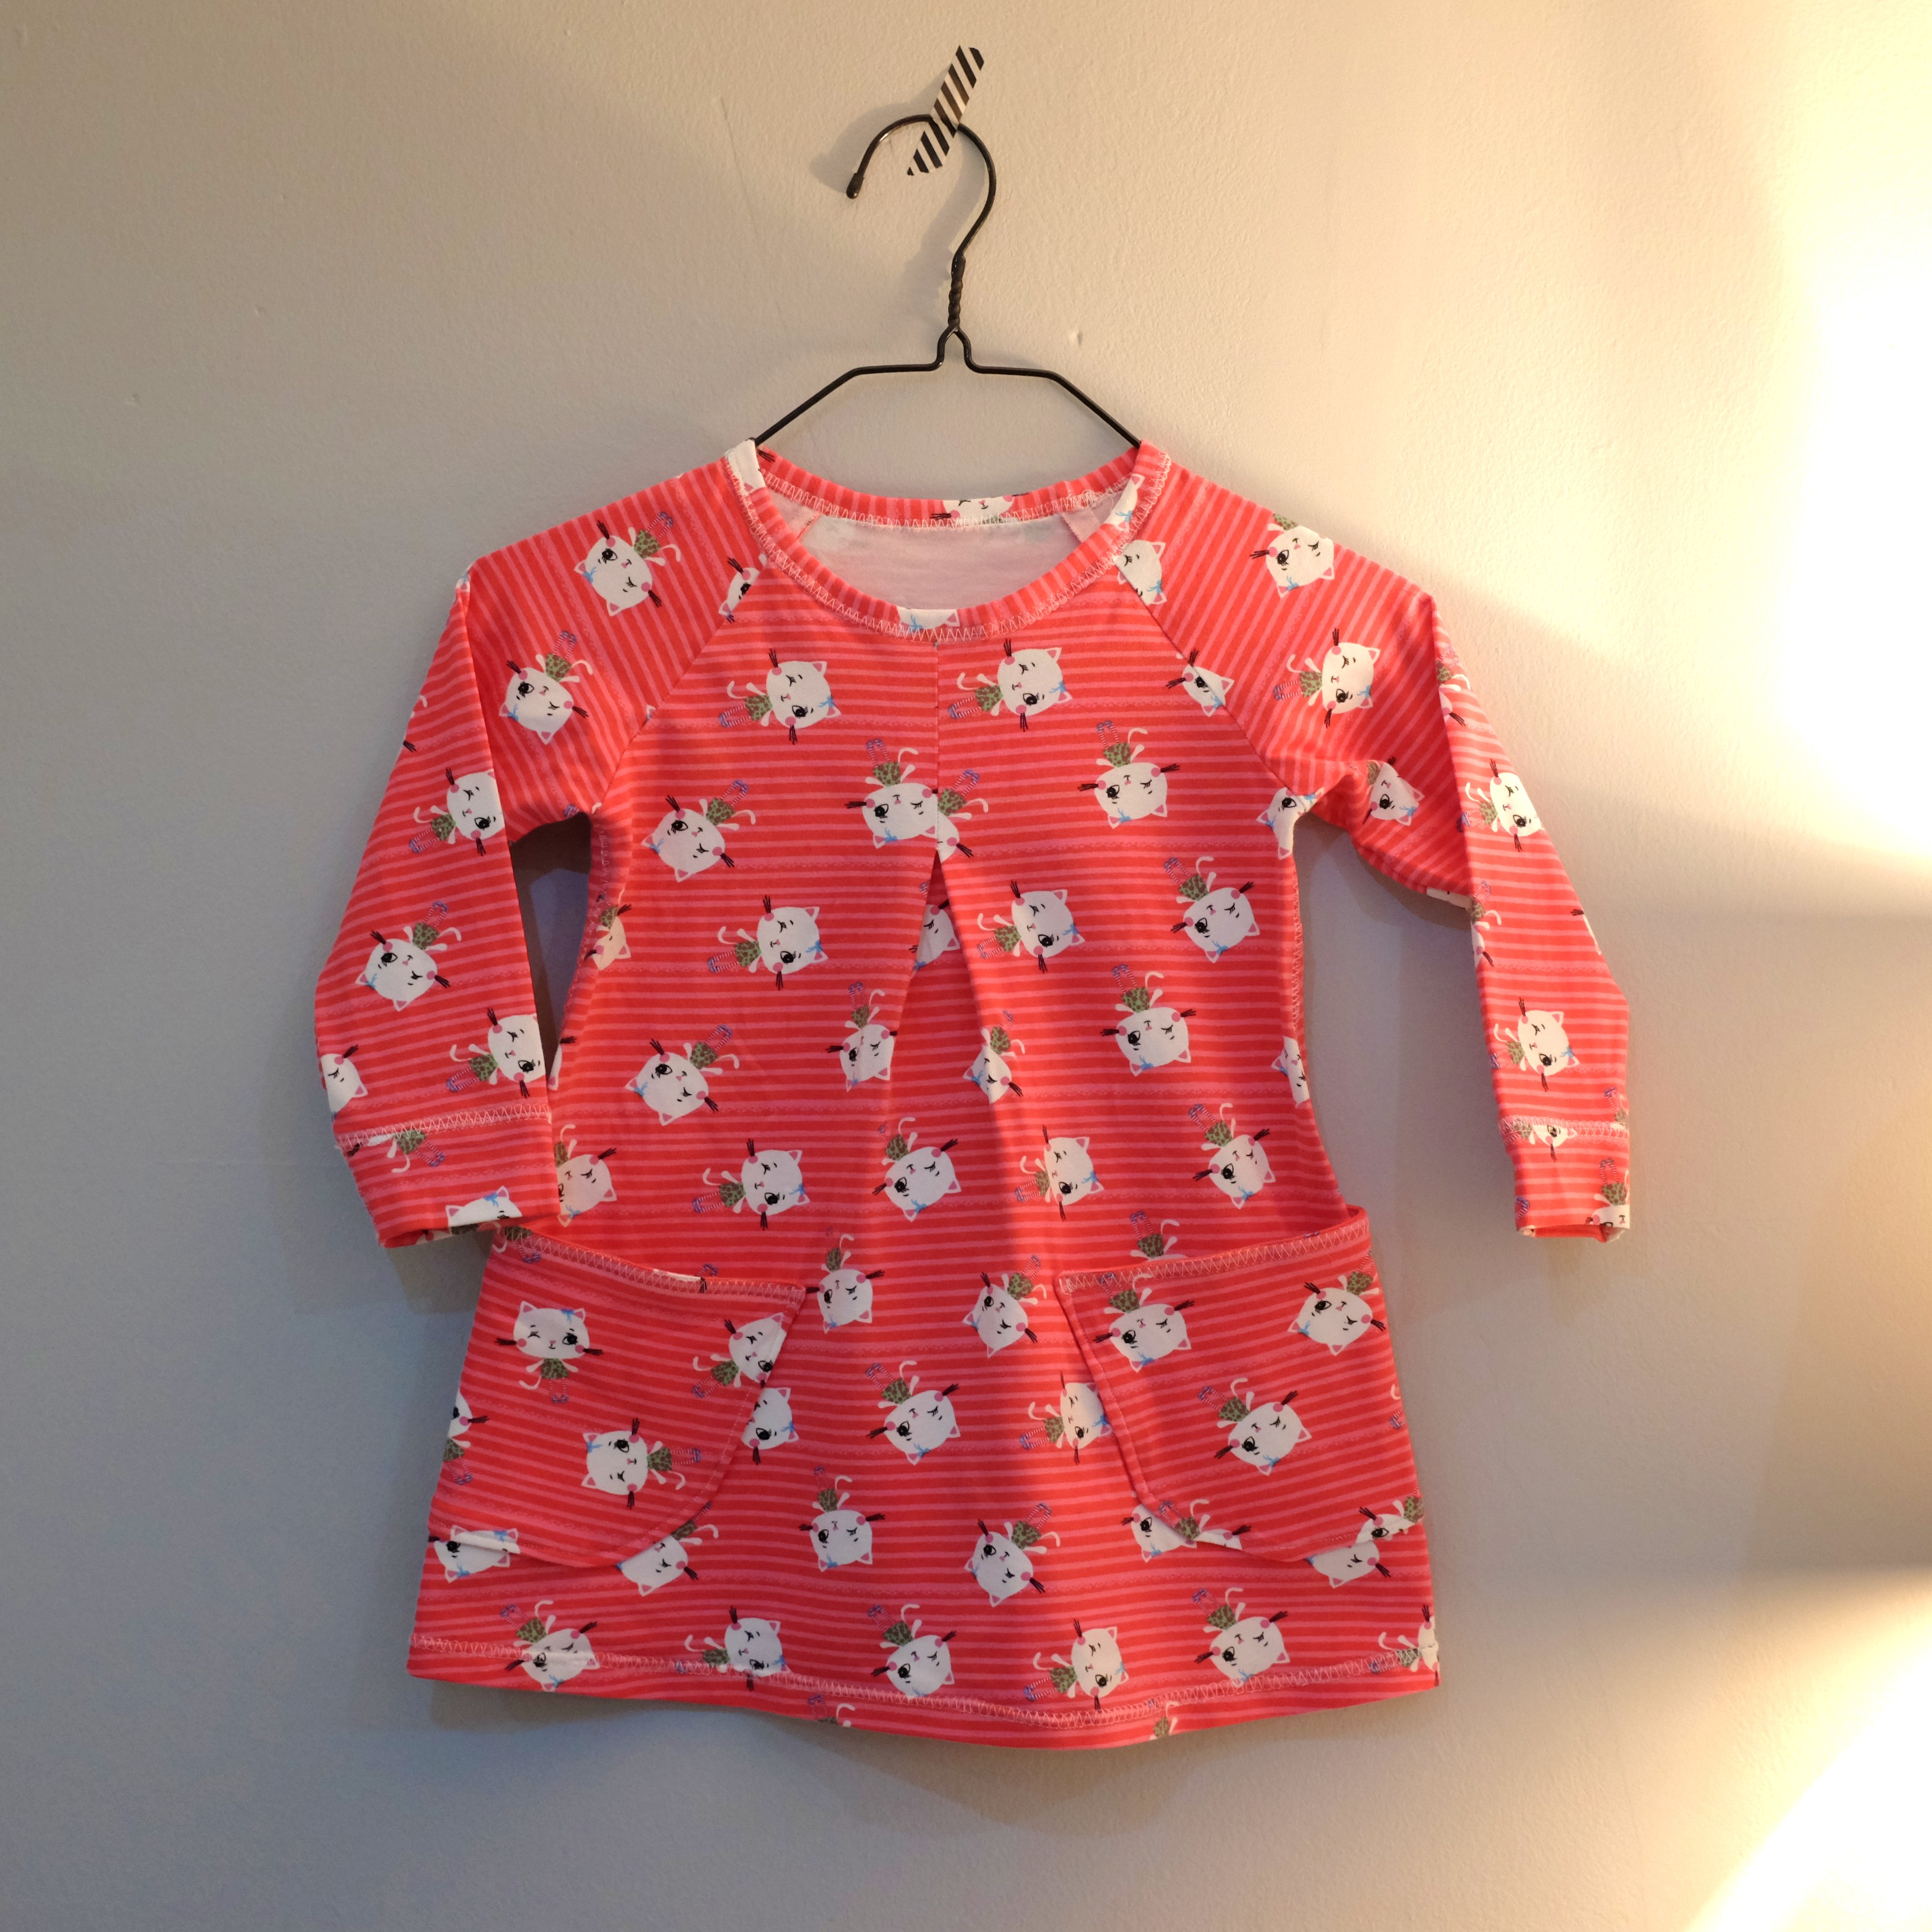
After making a fleece dress from the Ottobre design pattern, I chose a funny girly print jersey from Plush Addict to make another one. The jersey is super stretchy, so I didn’t have troubles fitting the neckline piece.


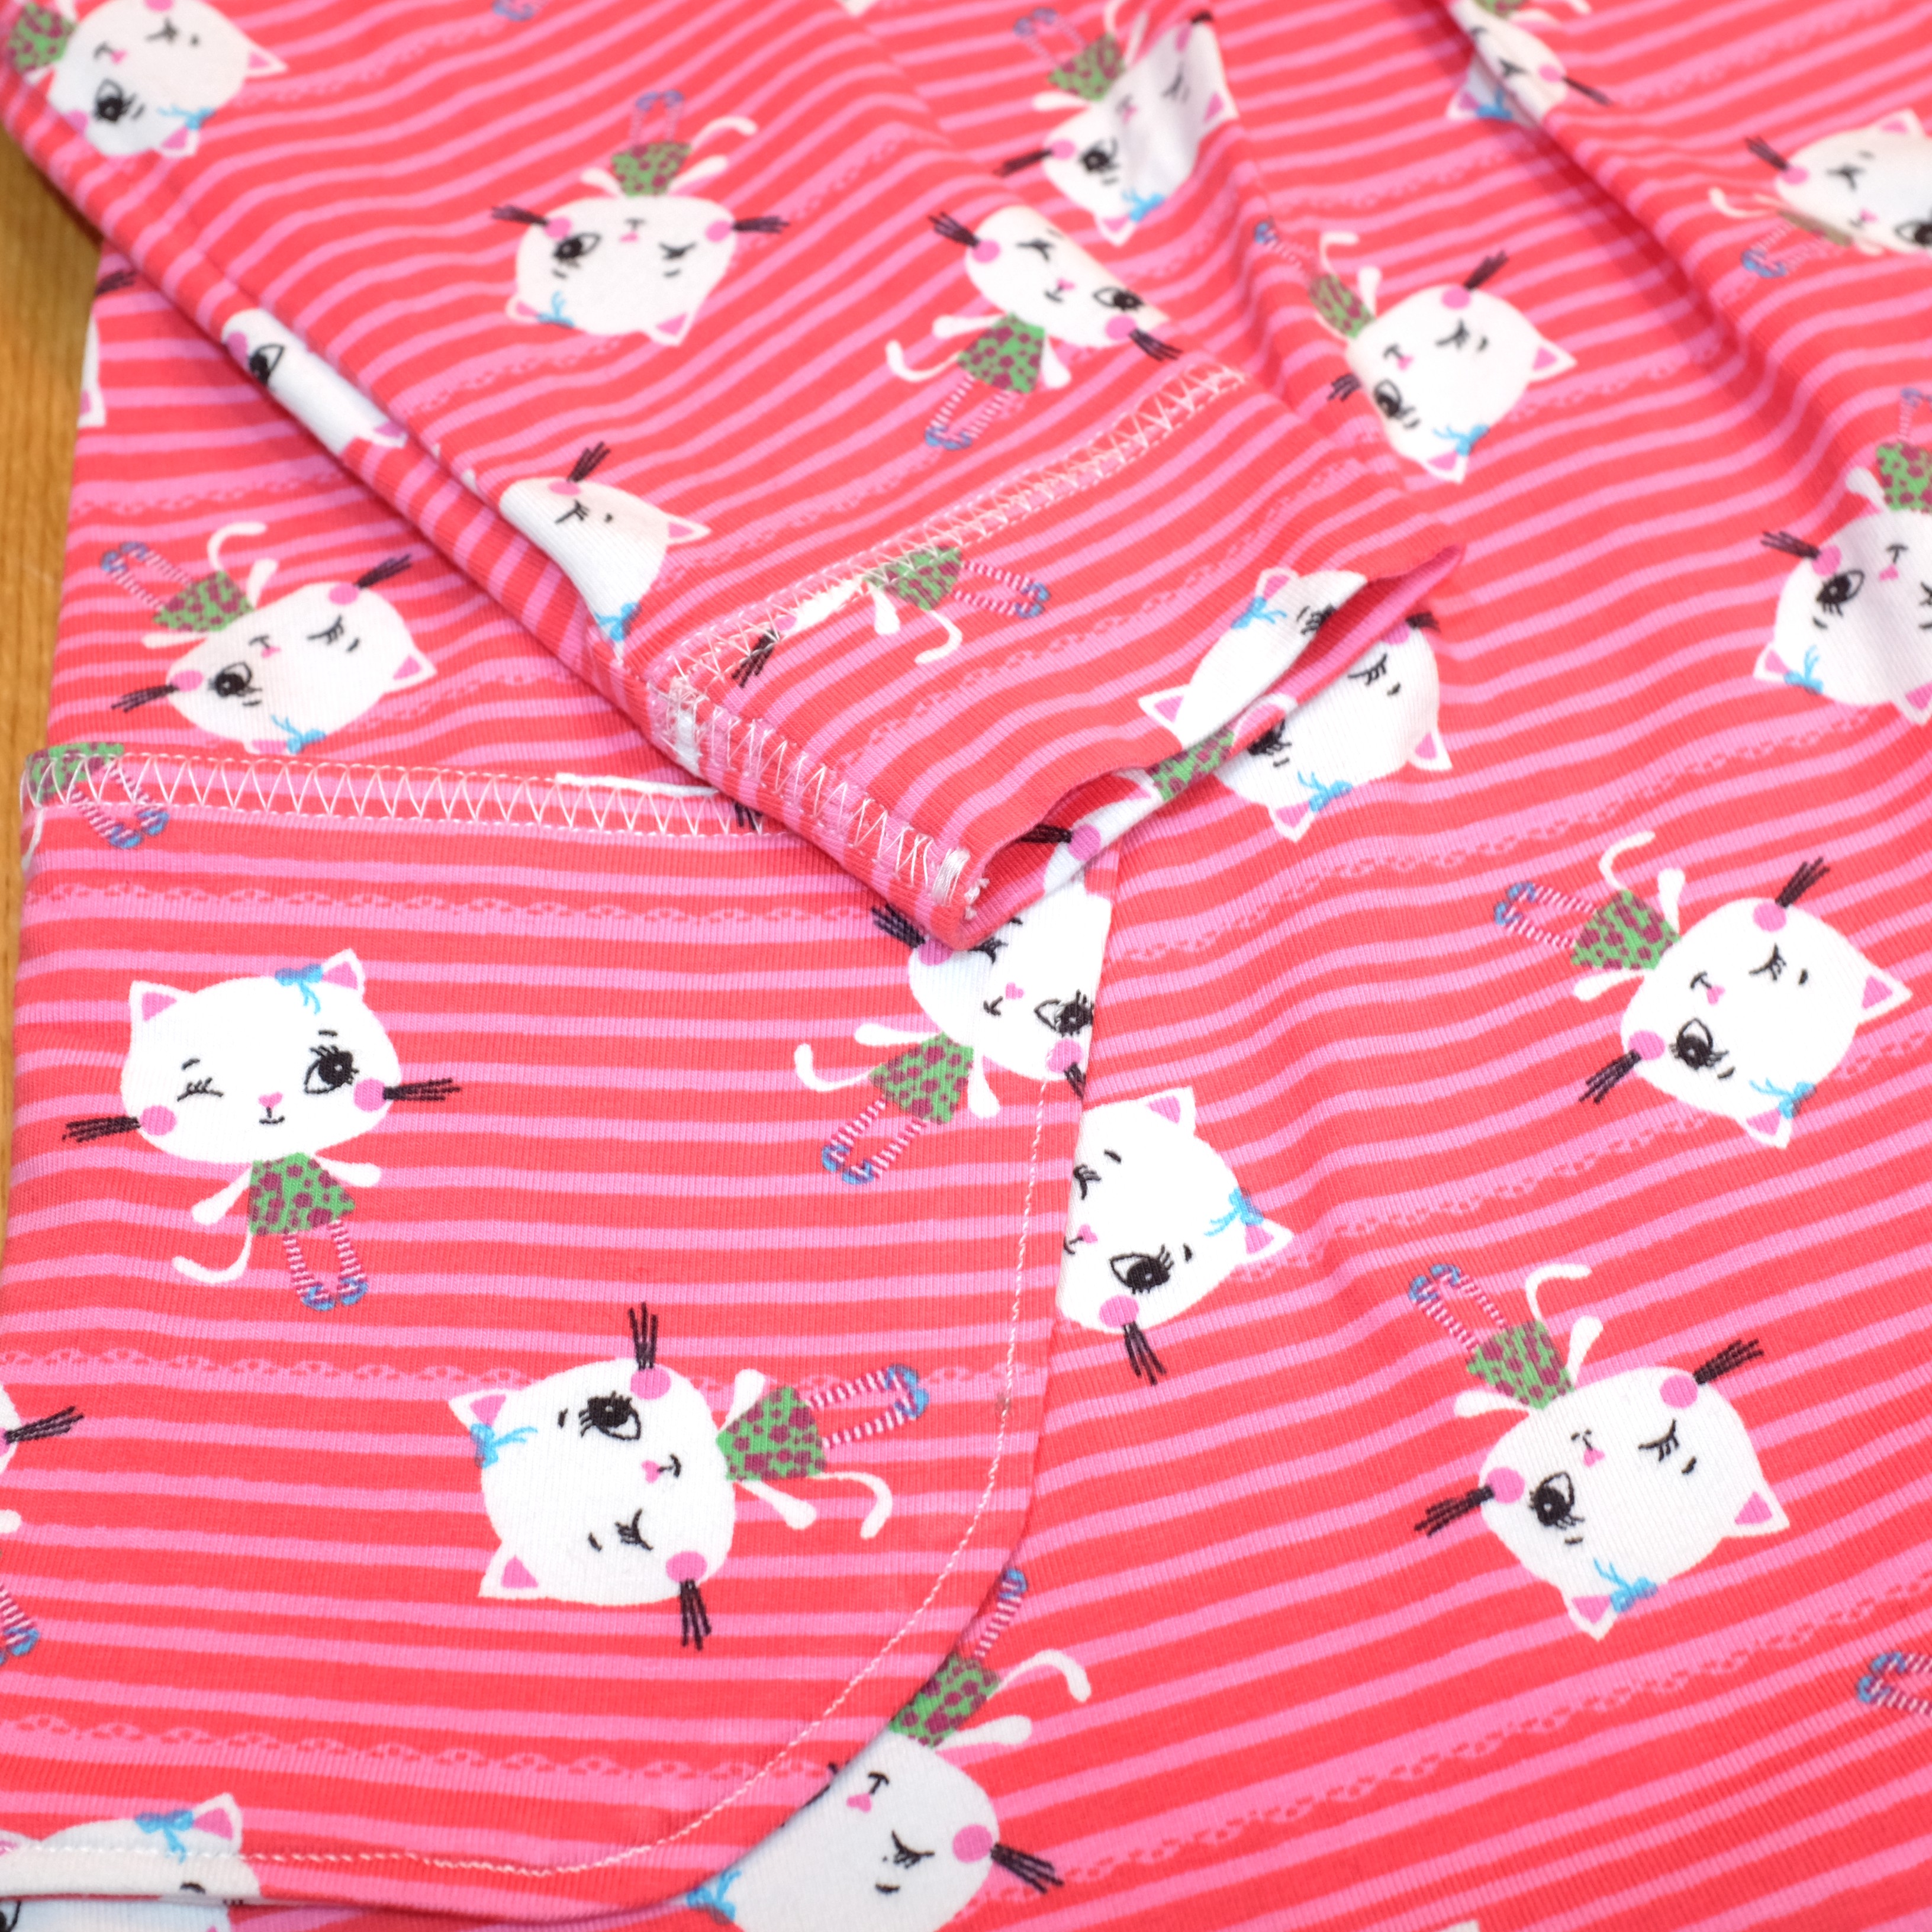
There may be a third “out of Harm’s Way” Ottobre dress in the pipeline…
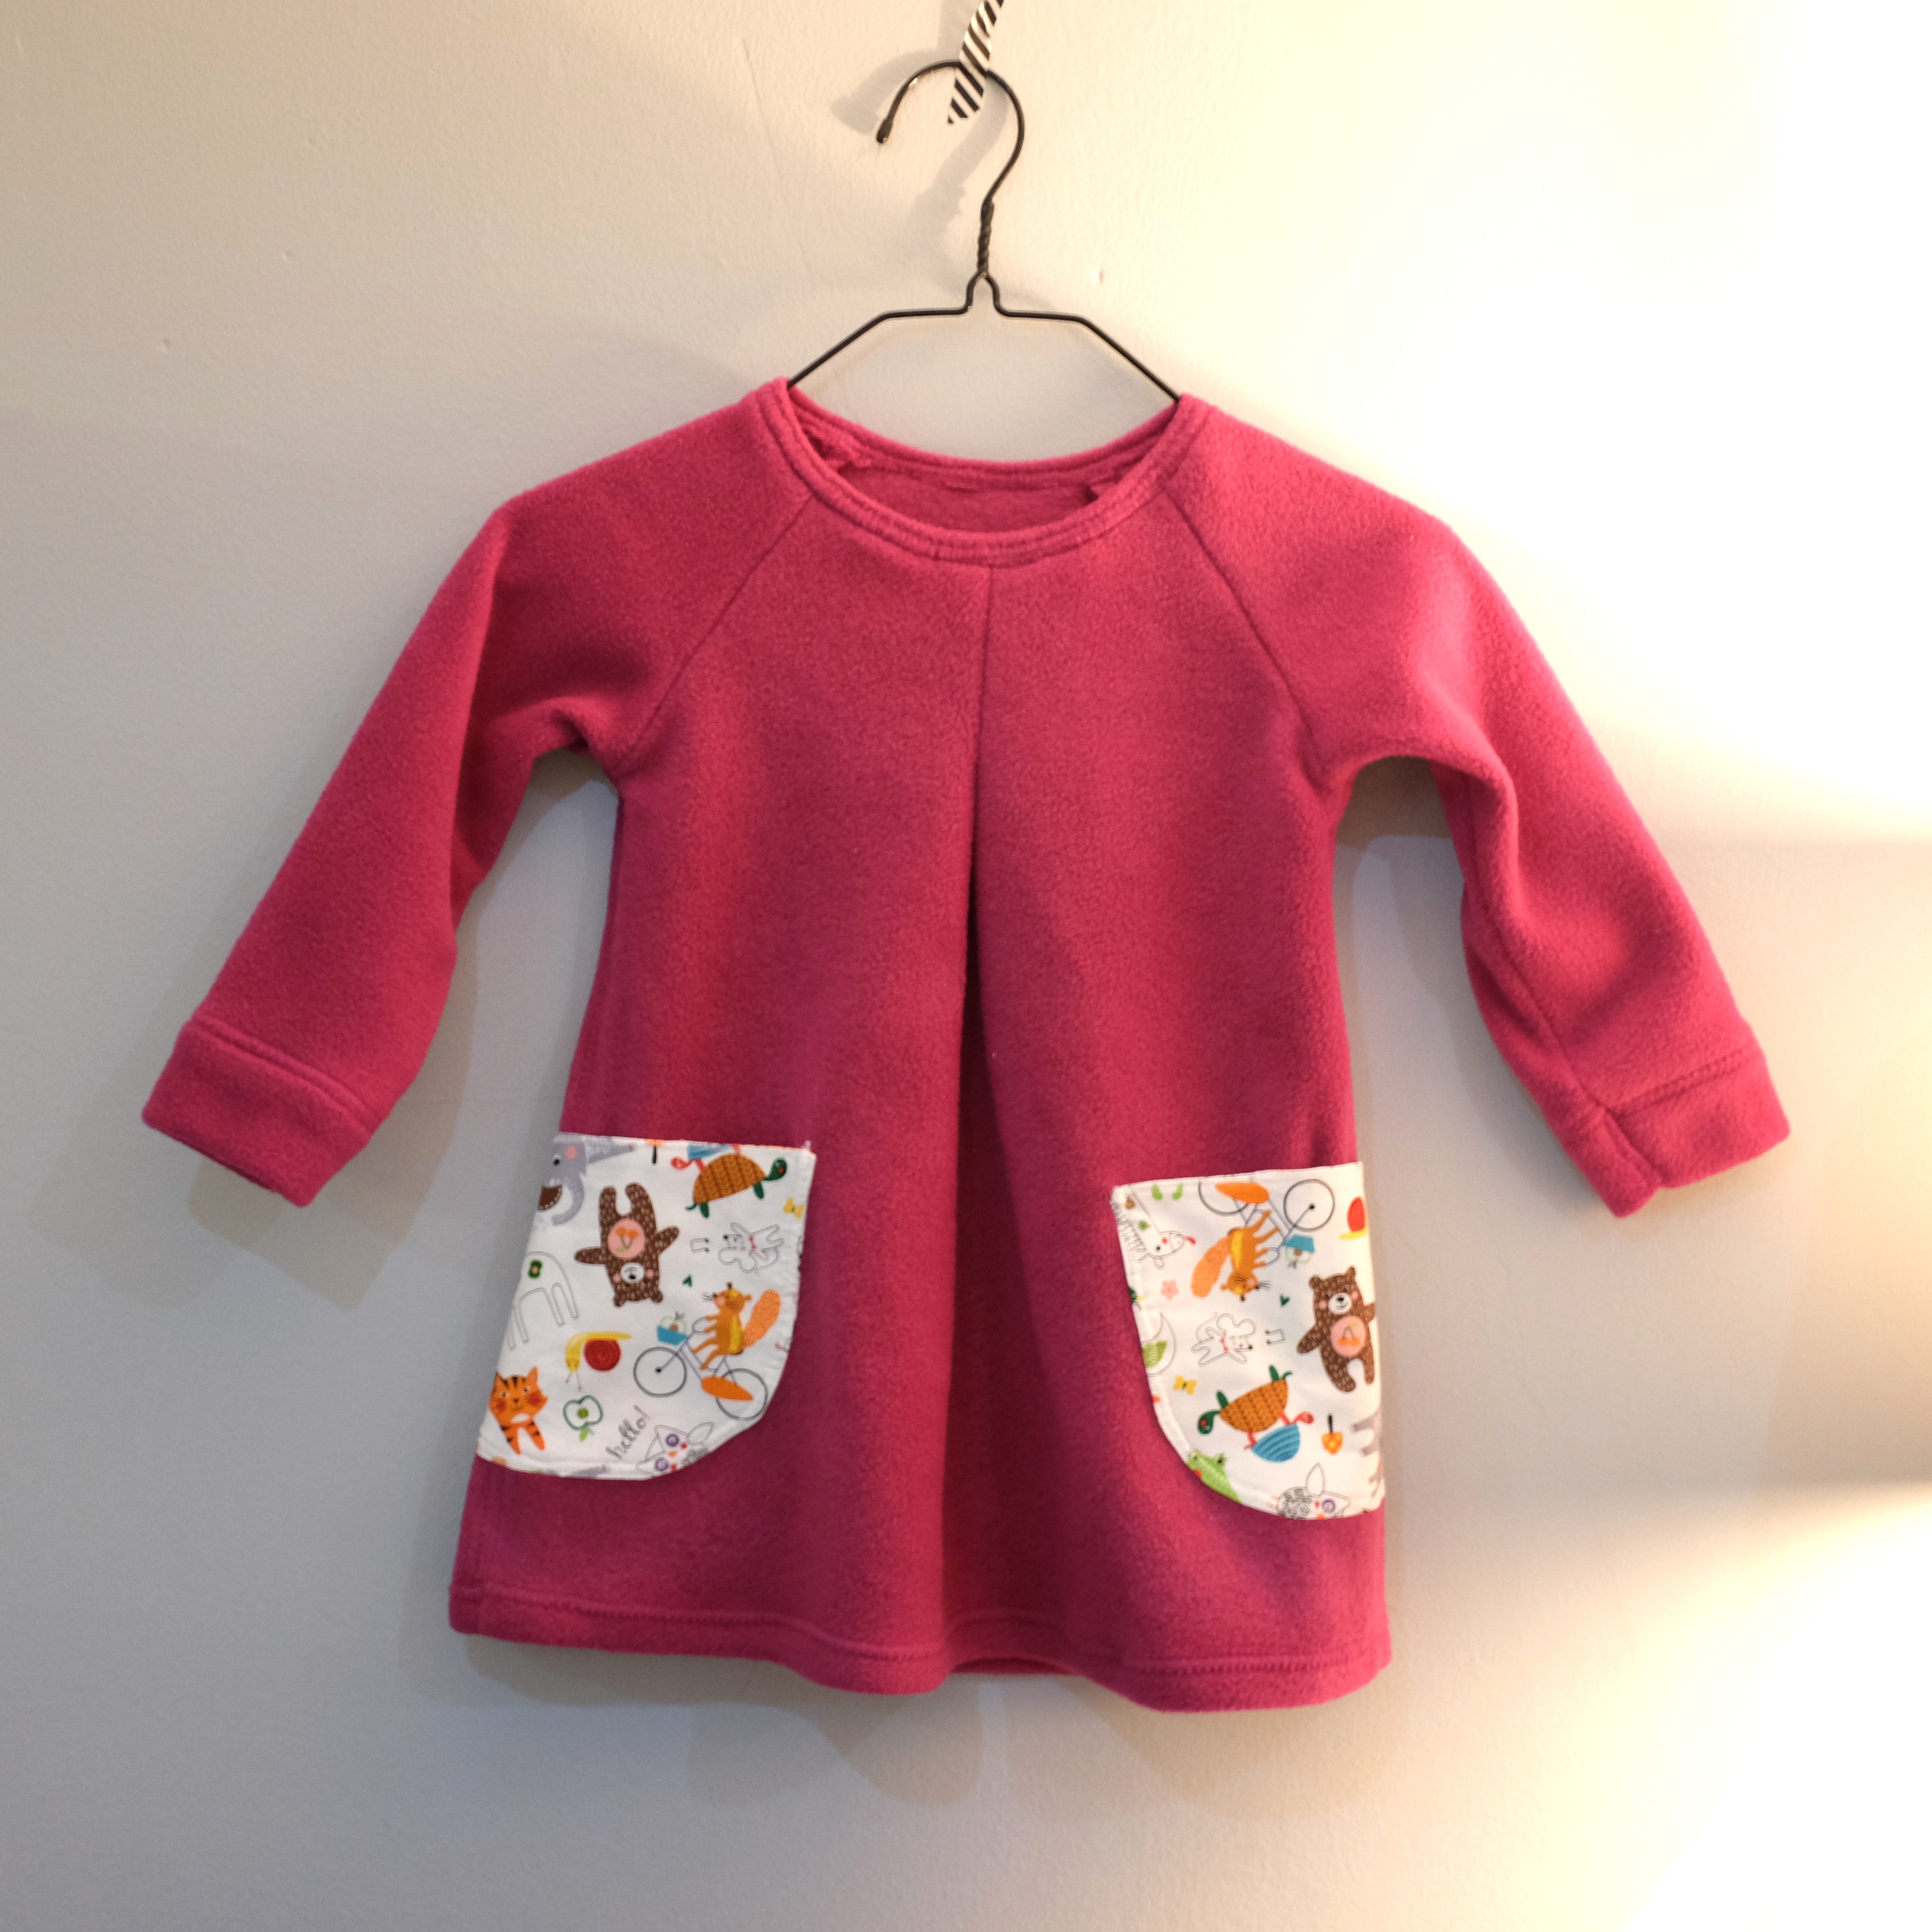
I’ve made two dresses from this Ottobre Design pattern. Ottobre is a Finnish sewing magazine that I really enjoy: I like the Scandinavian style of their clothe and the quirky prints on their fabrics. They are easy to wear clothes, which is so important for kids. You want them to enjoy putting their clothes on and wearing them without worrying if they will be comfortable enough to play and move. Ottobre offers simple and efficient designs that are easy to wear and enjoyable to sew.
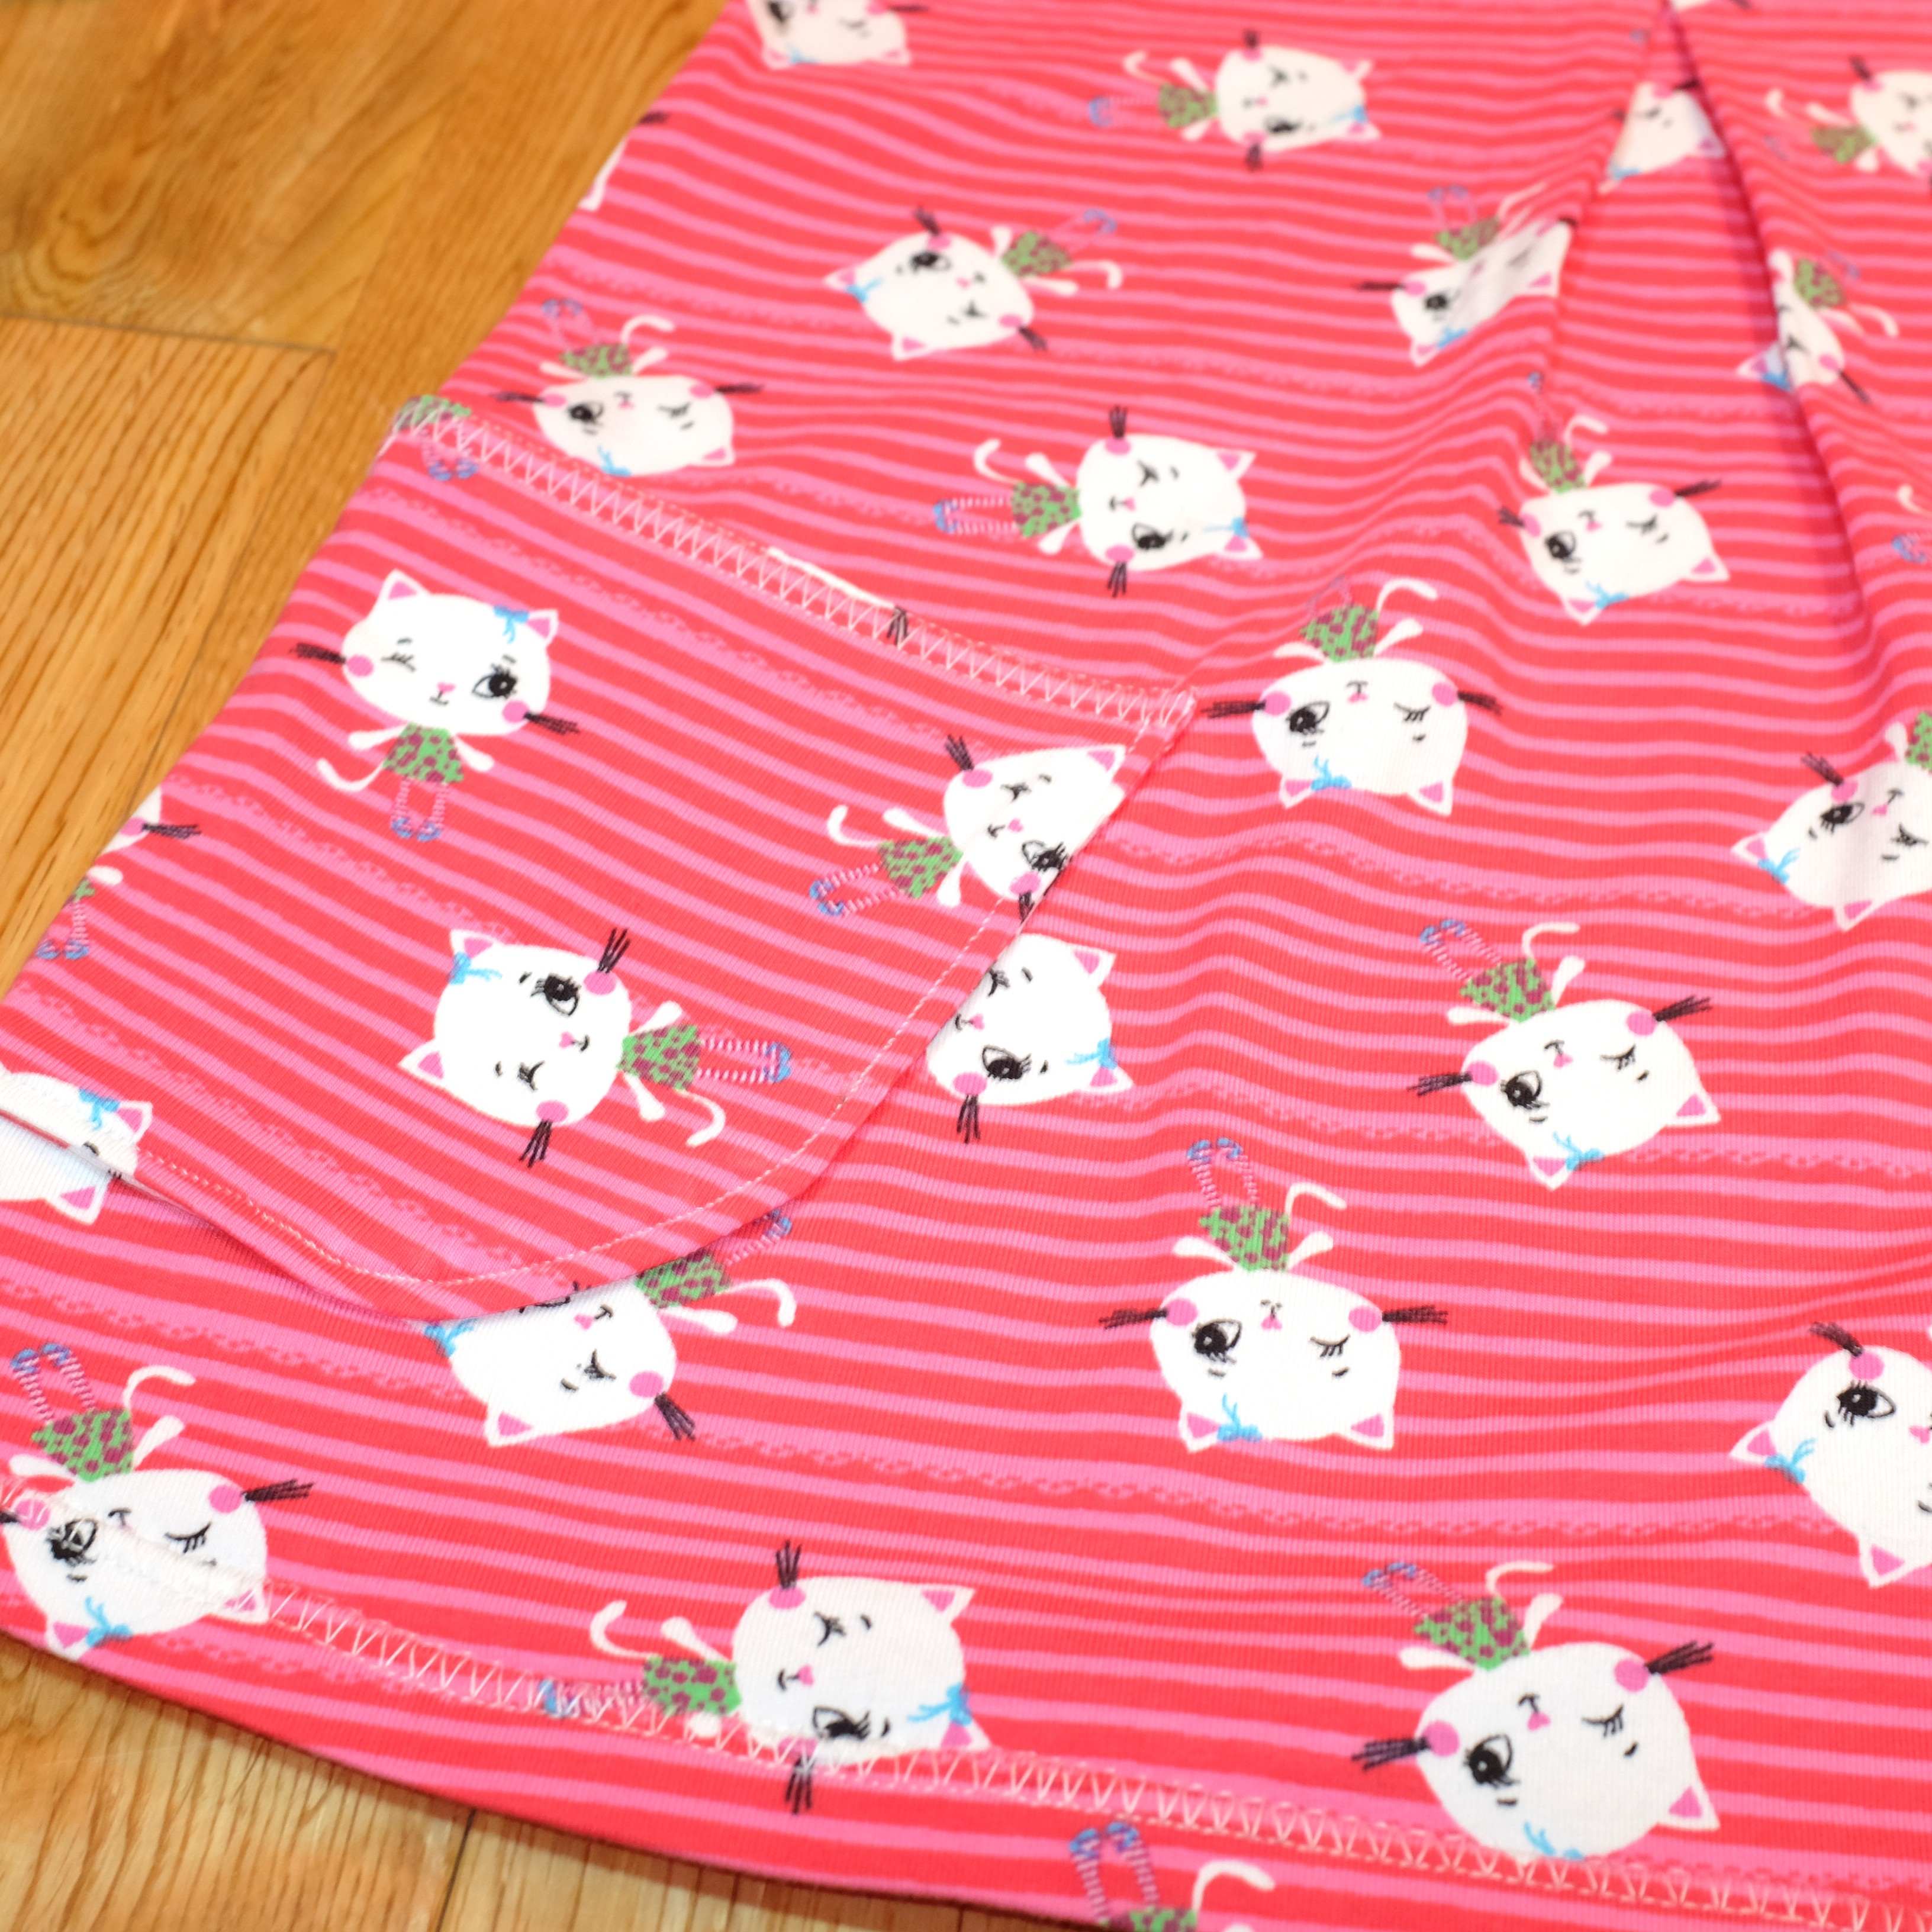
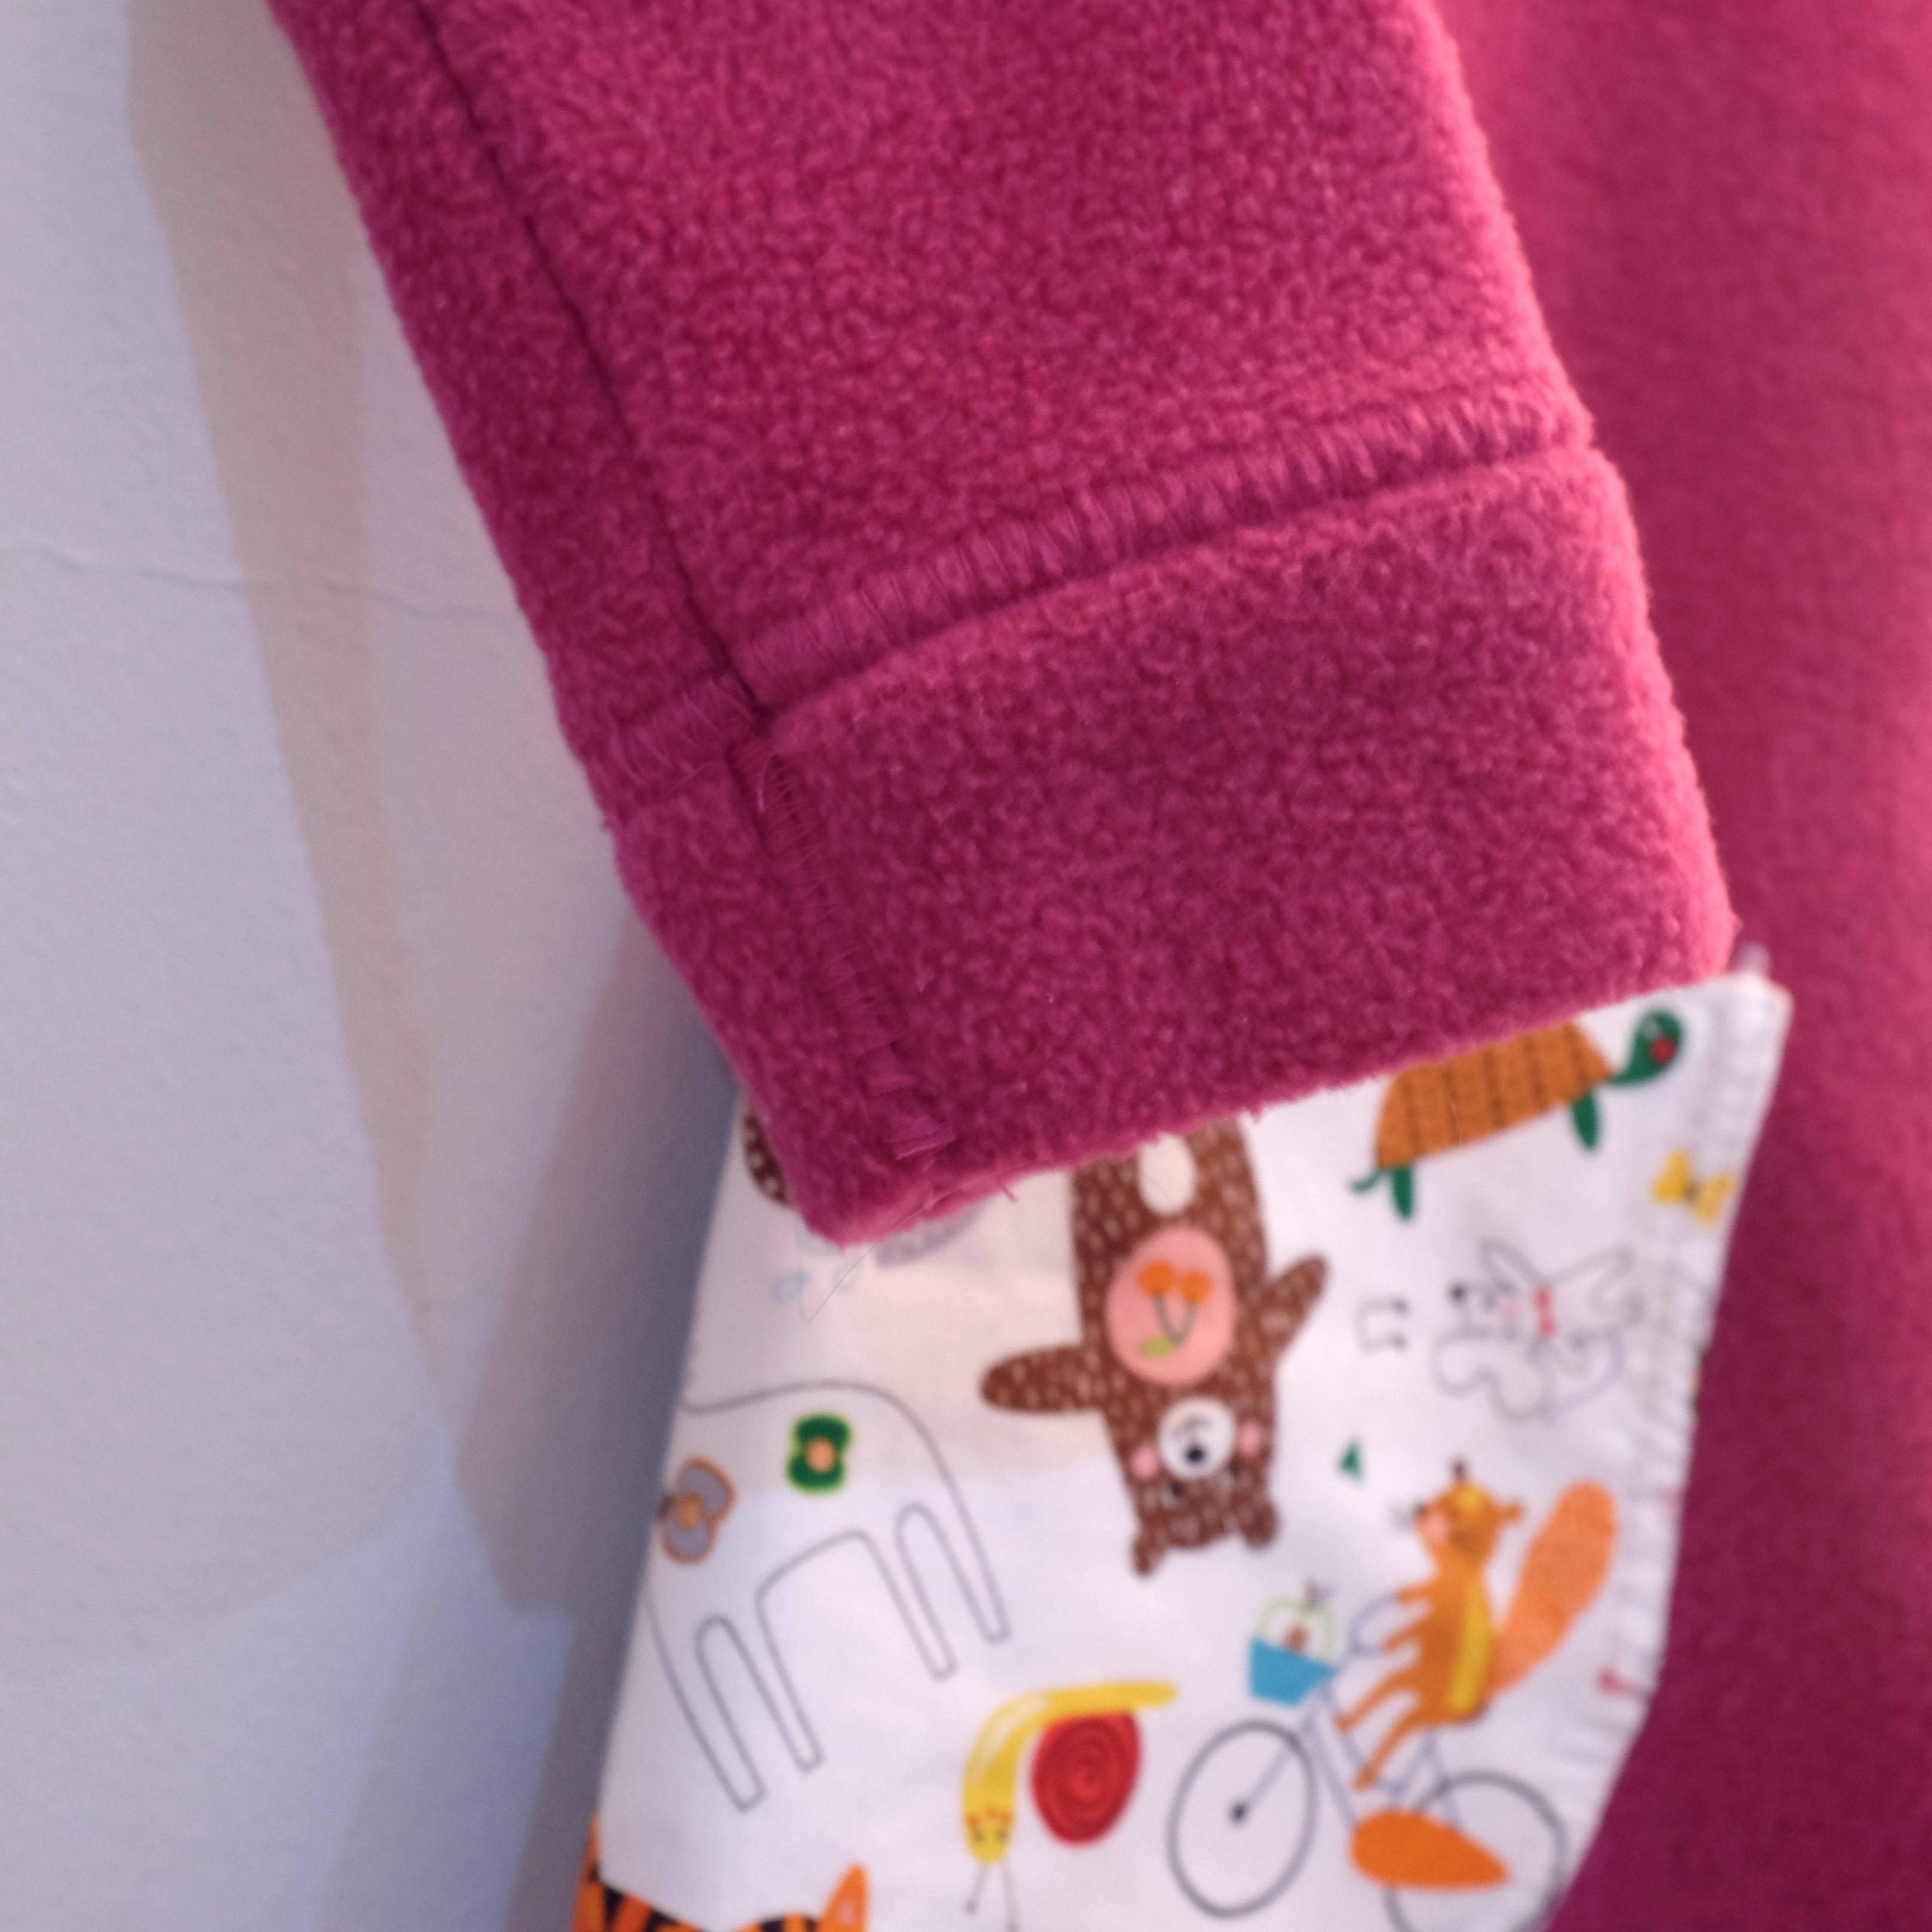 For my first “out of Harm’s Way” dress, I’ve chosen a warm fleece fabric from Backstitch. The dress is REALLY warm. I’ve also chosen a funny print woven fabric (that my daughter chose, also at Backstitch) to make the pockets.
 The only tricky thing with this pattern is the collar piece that is much shorter than the total length of the neckline on the dress. This was done on purpose, but the fleece fabric was less stretchy than the recommended jersey fabric. But with intensive pinning and stretching, I managed to make it match AND my daughter’s head is fitting through! (what a relief, I can tell you!)
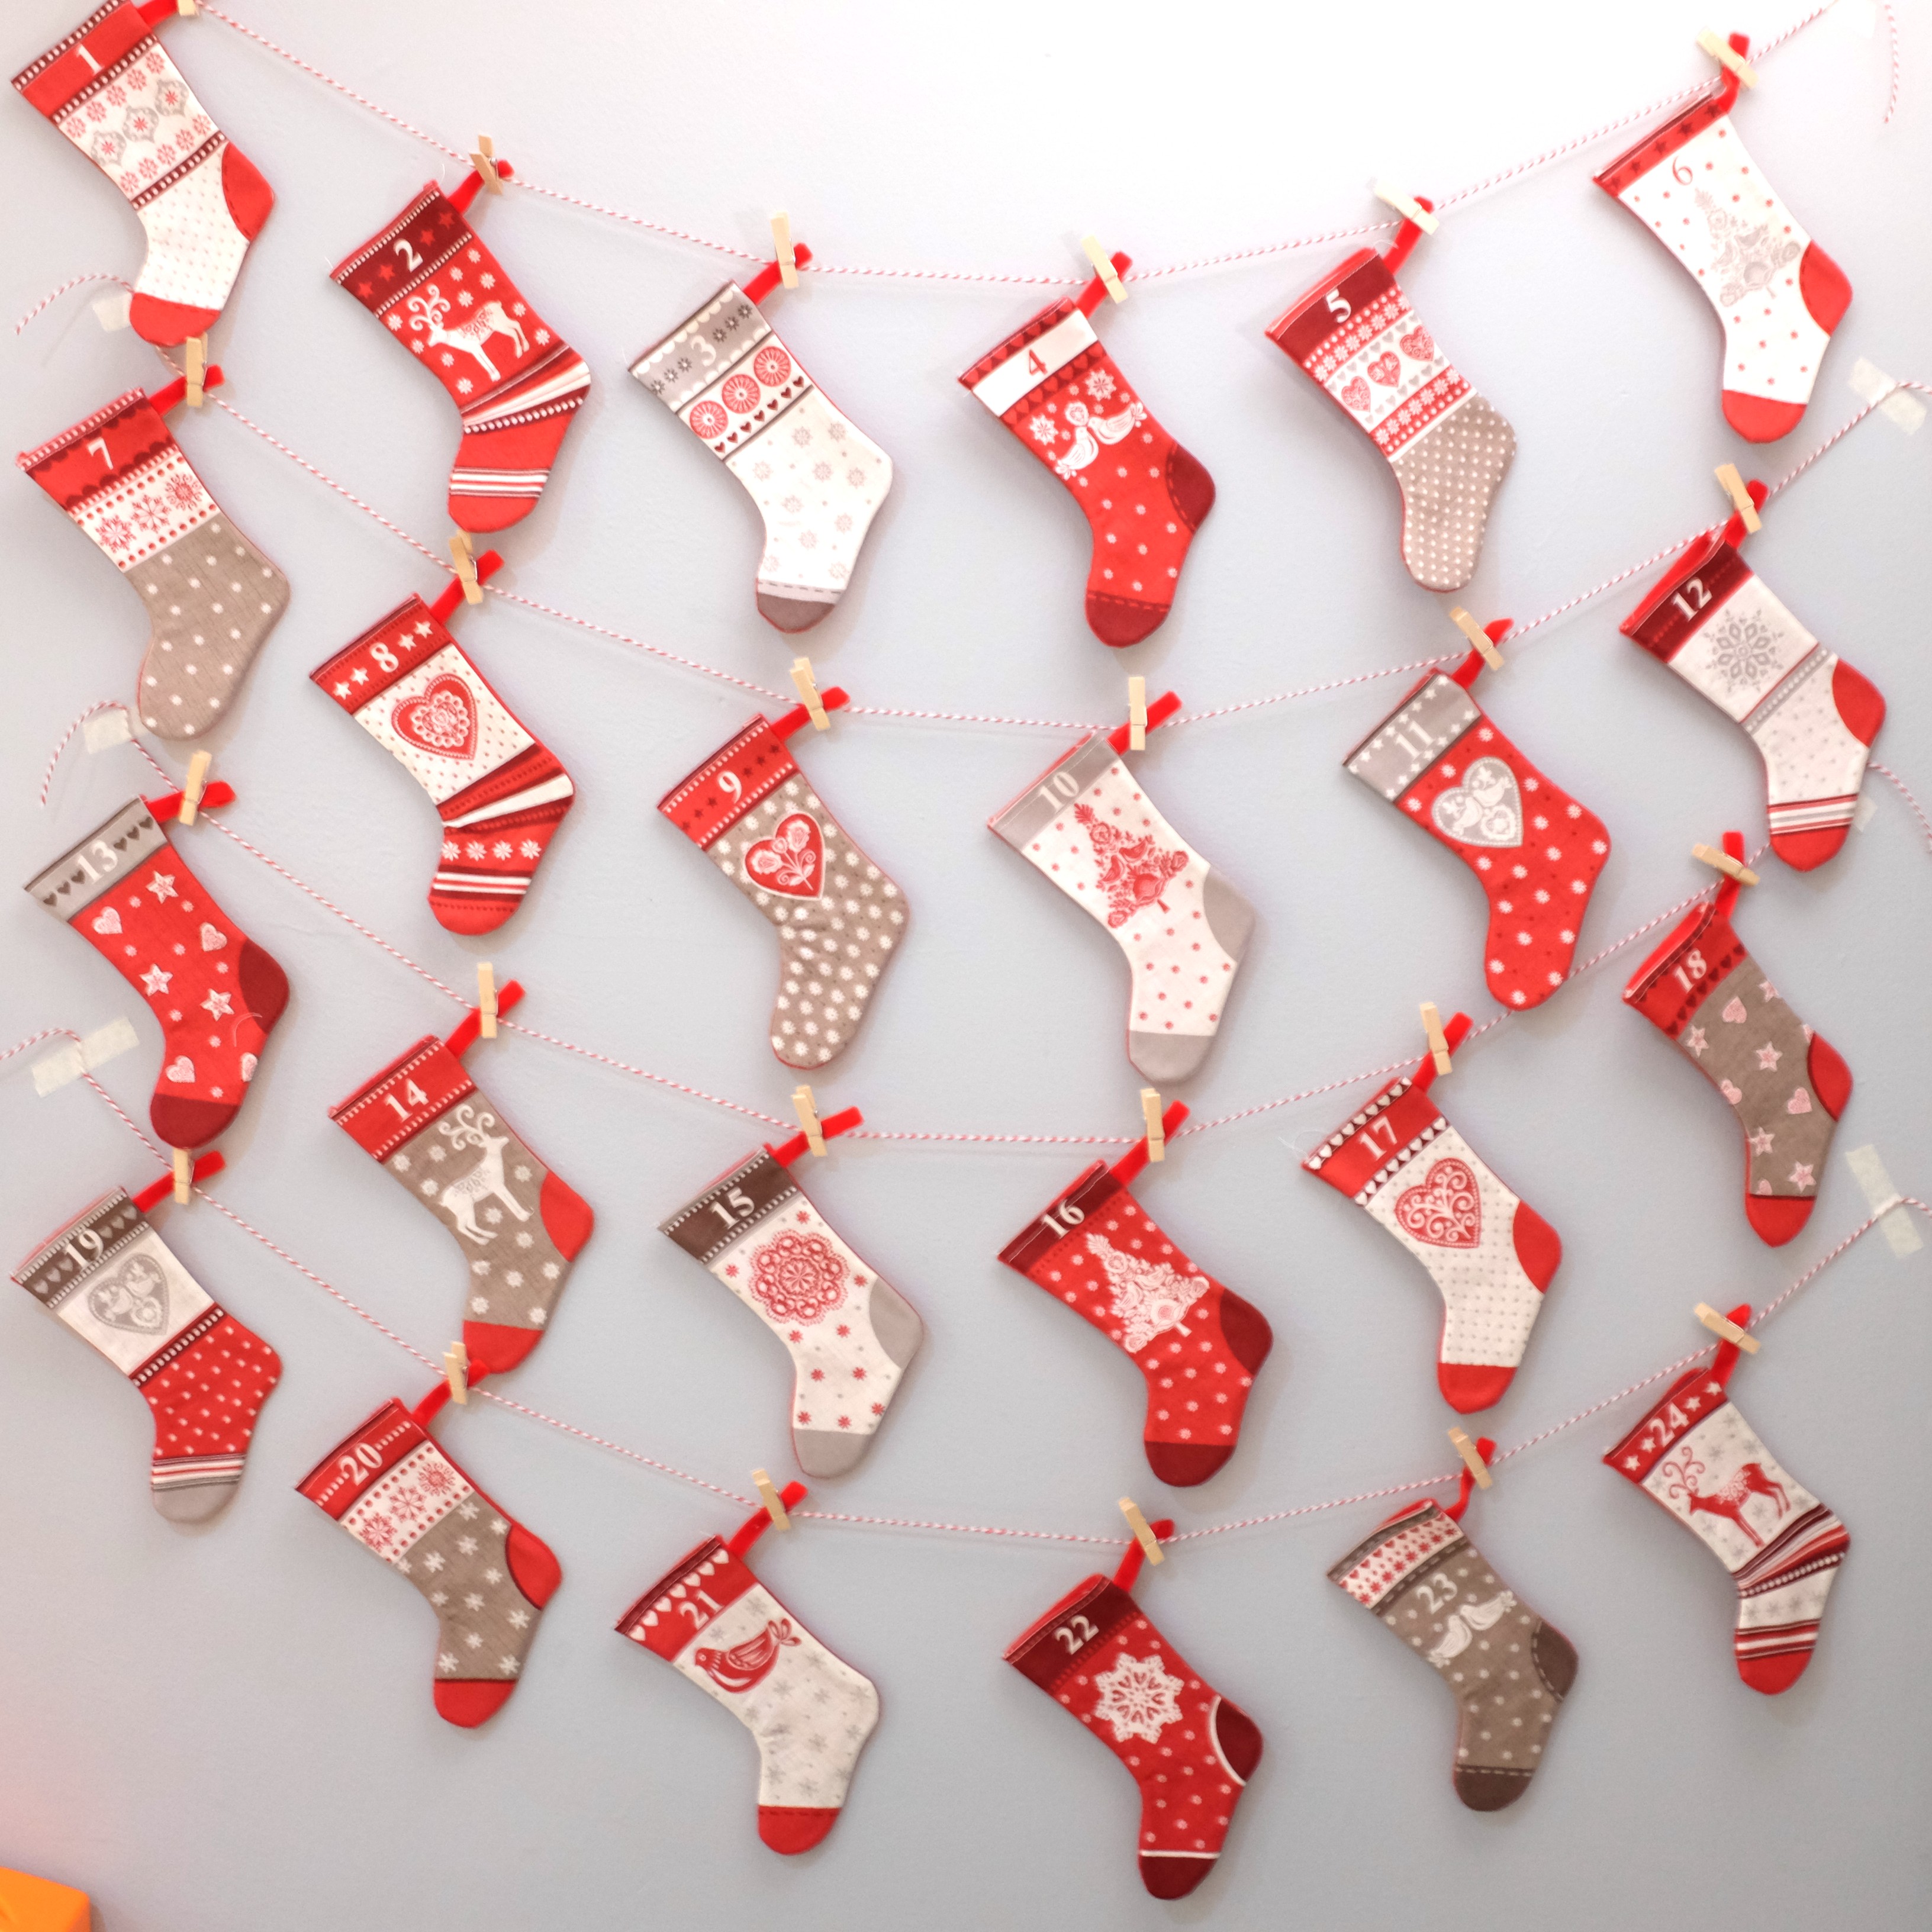
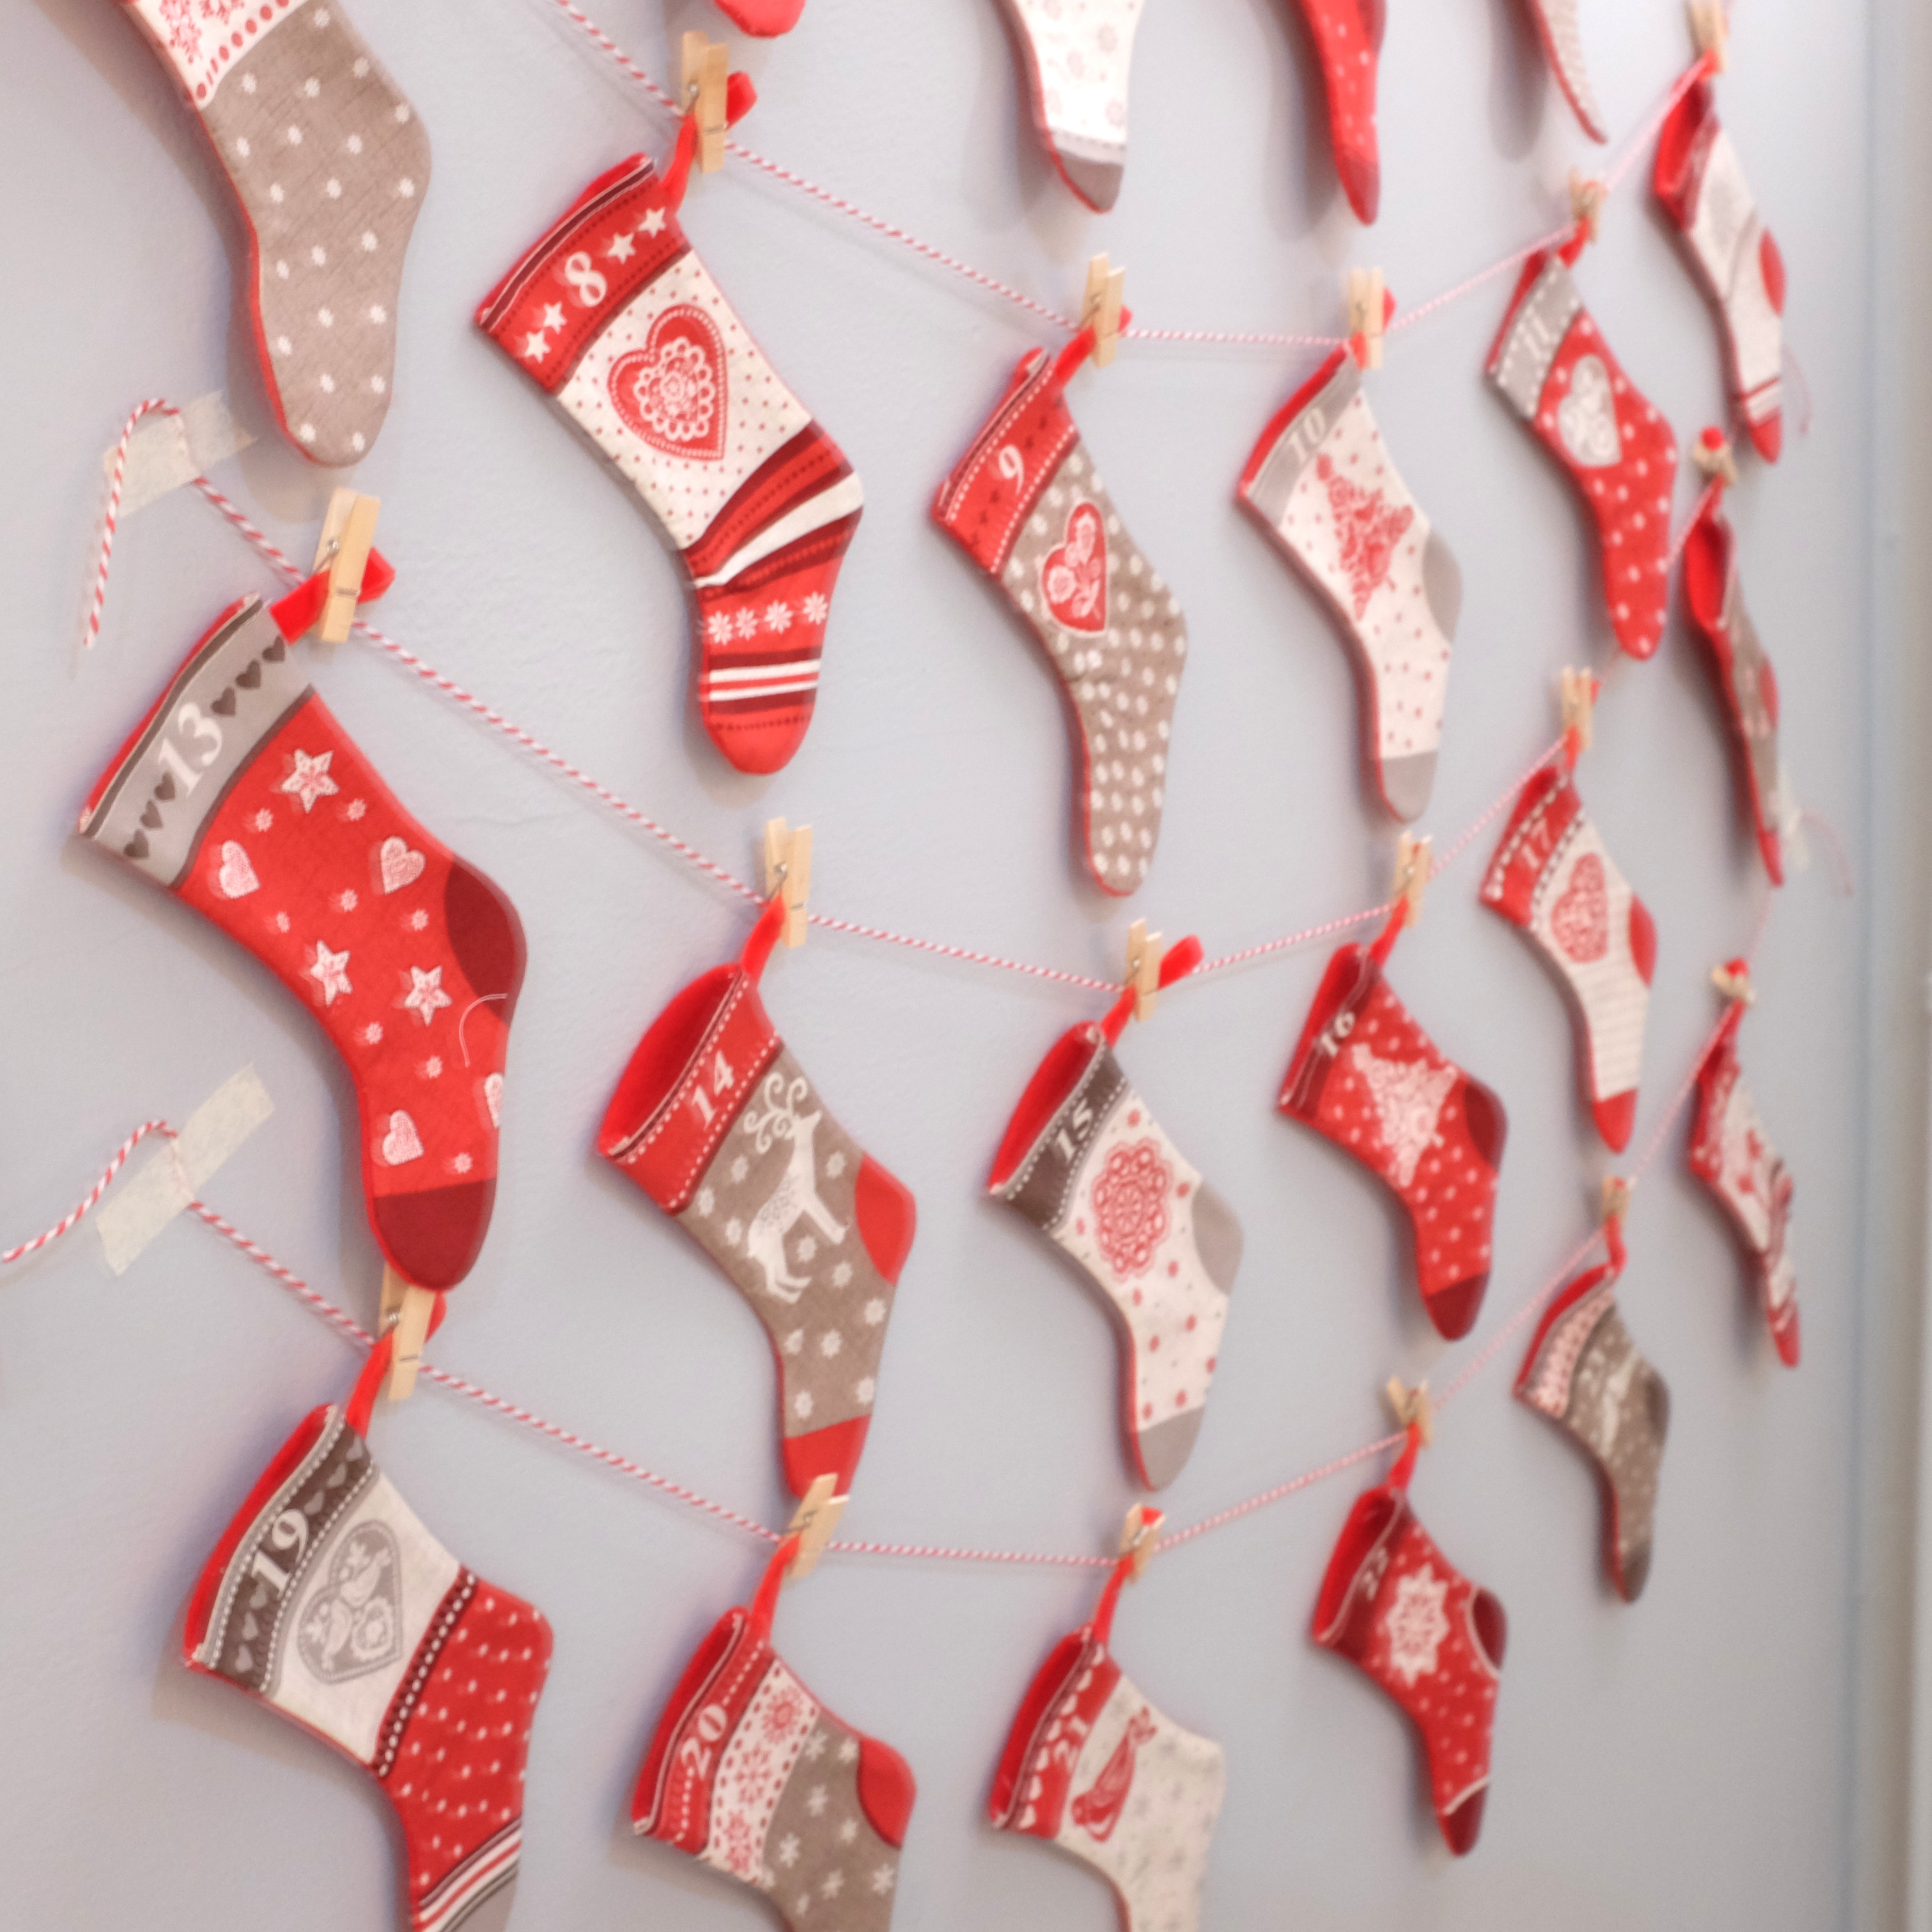
Back in October, I bought a fabric panel from Backstitch to make an advent calendar for my daughter. Back then I didn’t realize that it needed some extra fabric to make the back of the socks and a ribbon too, which I found at CallyCo. I used some red felt for the back, and red velvet for the ribbon.
24 socks! Twenty! Four! It took me a little while, but it was worth it.
Here are some pictures of the Advent Calendar ready to be used!

Red and white baker twine & little pegs from Tiger.
Masking tape.

Do you know the Hama Beads? I swear, I bought these for my daughter… (when she was 2… yes, yes, it was for her me!)
Just a simple little house. I made a few rectangle shapes. Red for the roof. White for the walls with transparent beads for the windows. A little bit of glue gun to put everything together and voila!
A simple DIY done super quickly!
Now I wonder if I should put a little string to put it in the Christmas tree, or just leave it as it is…

Christmas countdown has started since October, here in Cambridge. Even before Halloween, you could find mince pies at Sainsbury’s! I find it a bit bizarre, to have Halloween and Christmas lights and decorations side by side… So I’ve waited until the official first weekend of the Advent to start decorating the house if Christmas things.
Today, I wanted to share with you something I discovered when I was living in Stuttgart: the advent wreath. I’ve always loved them since then, but it’s only this year that I’ve decided to make my own!
I bought a wreath ready-made with Christmas tree (fake) branches and some candles and other bits at Tiger. I made the dried orange slices last year, so it was about time to use them!
I arranged all the bits and bobs until I was happy with the way the wreath looked, and then got my glue gun out. I used lots of glue under my candles, to make sure they won’t collapse. However, I don’t consider it safe enough to leave unattended while burning!
So here it is! I’m now really happy with my table centerpiece!